The Real Deal on Mercury UV Bulbs in Textiles
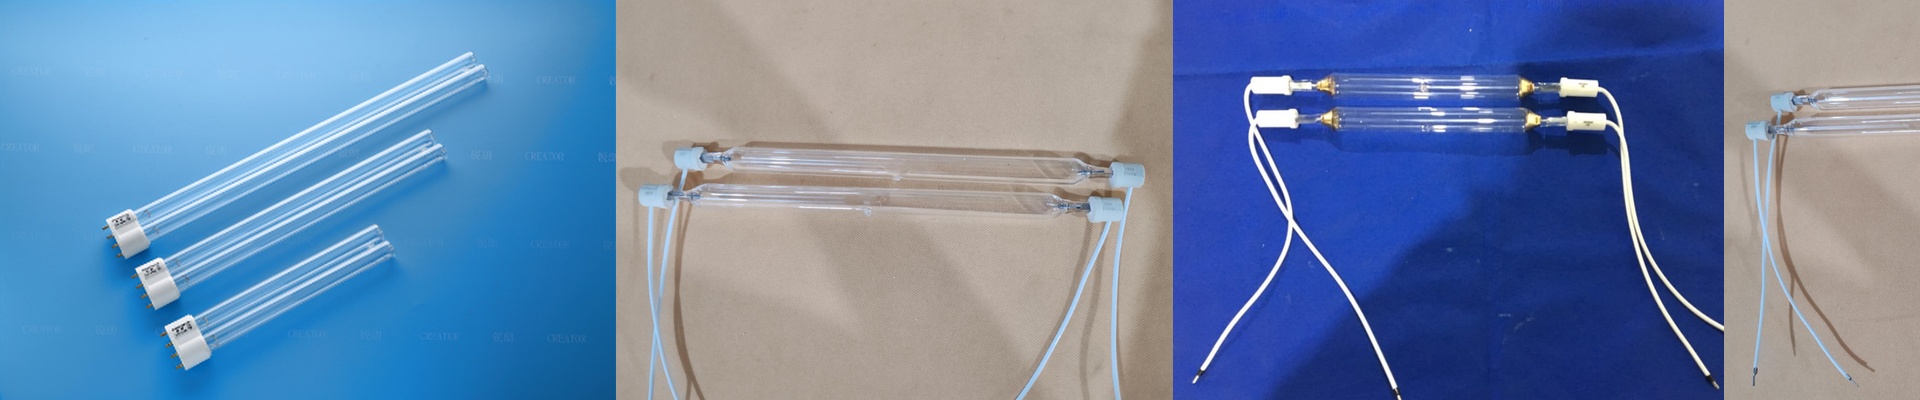
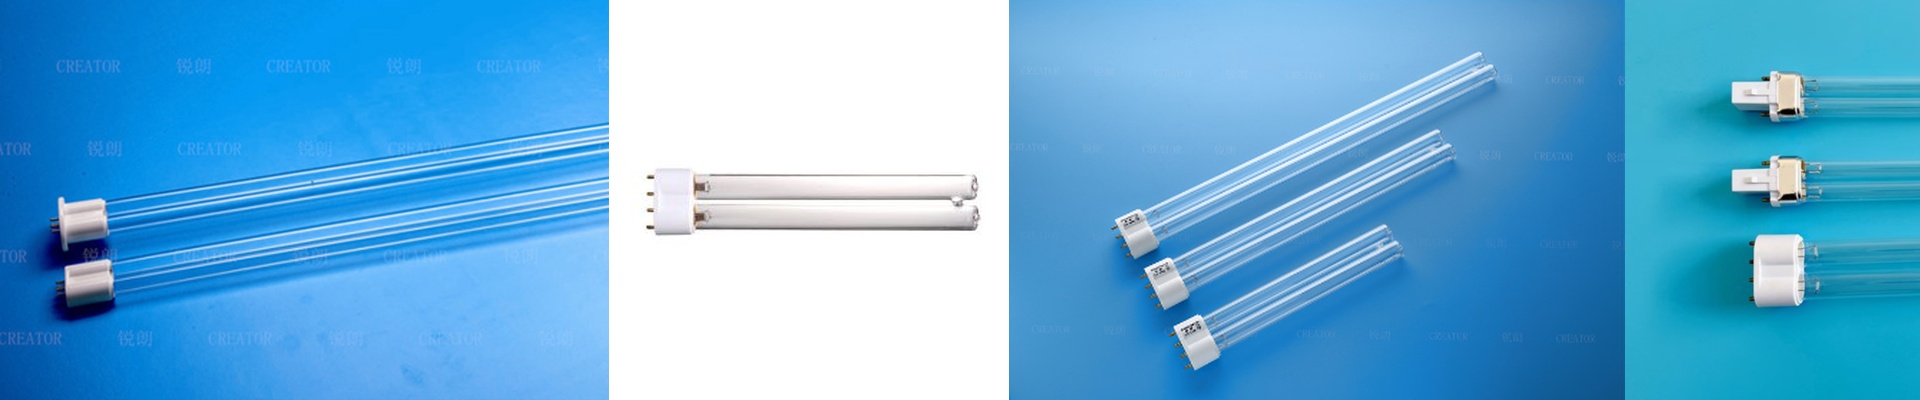
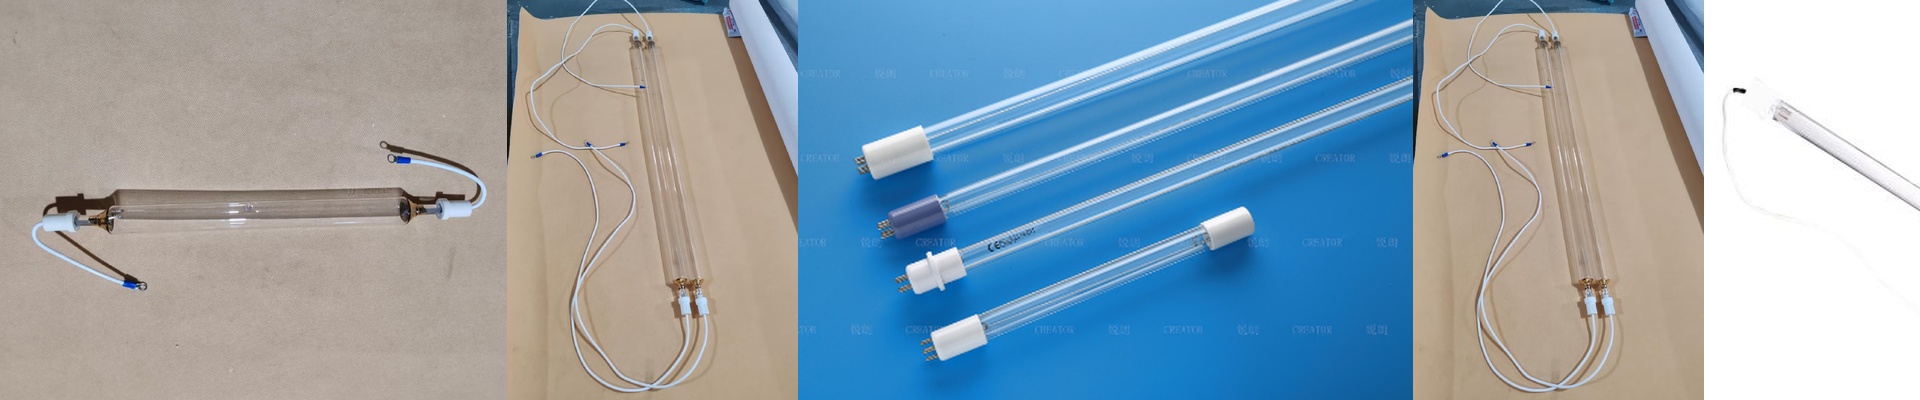
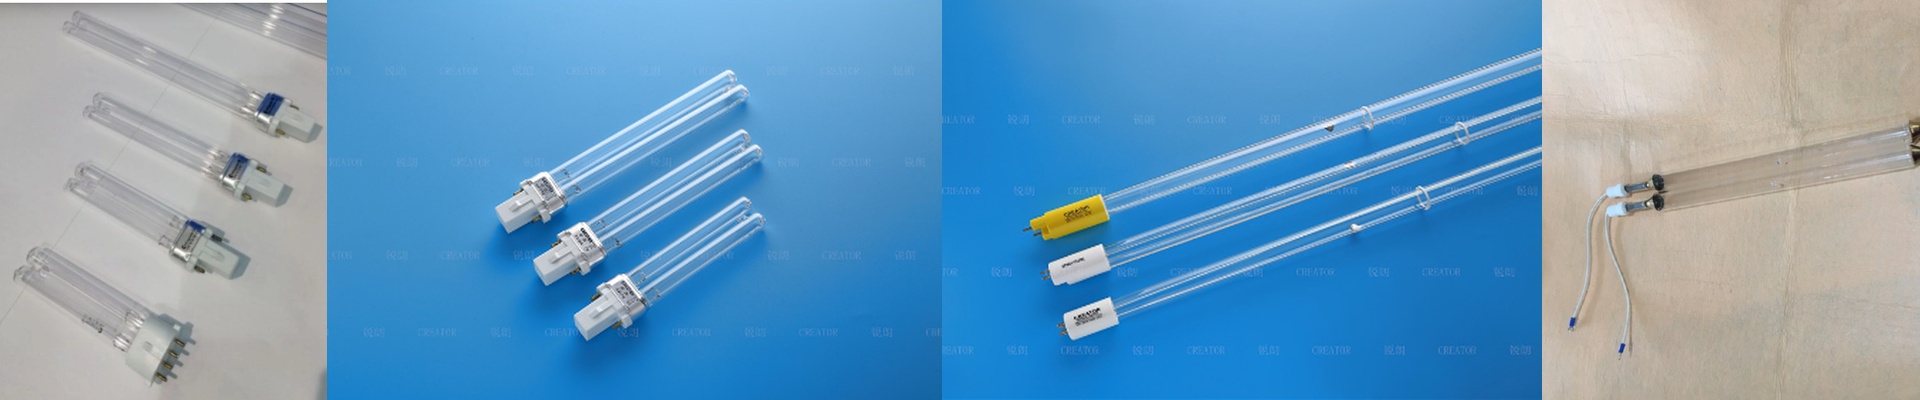
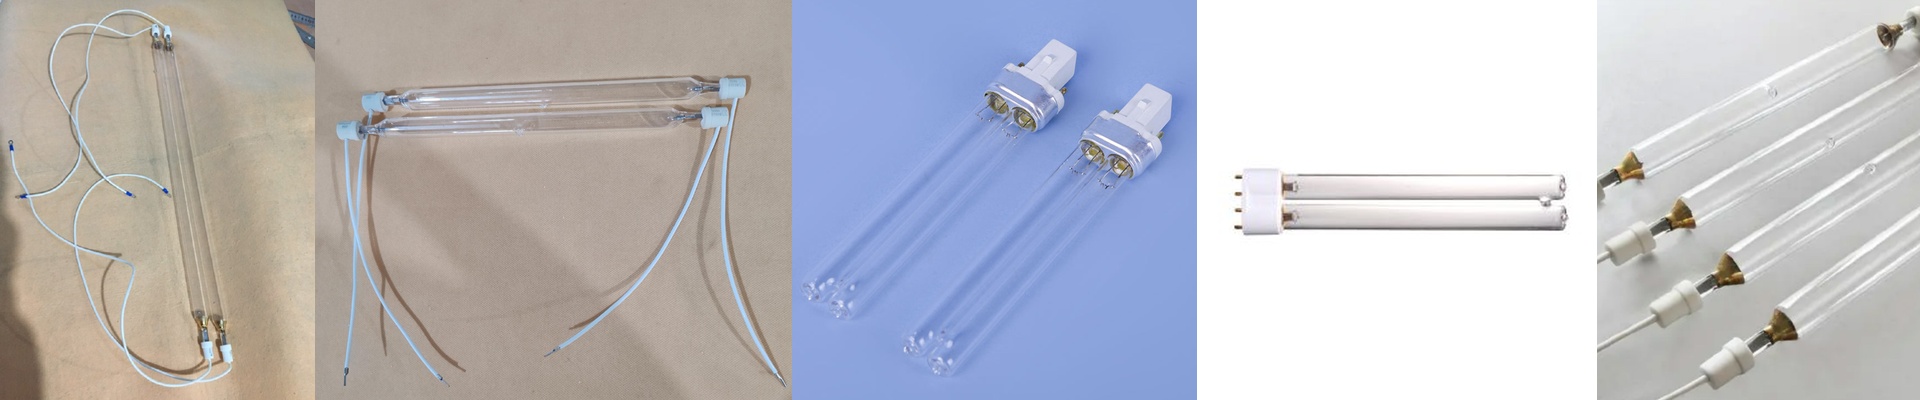
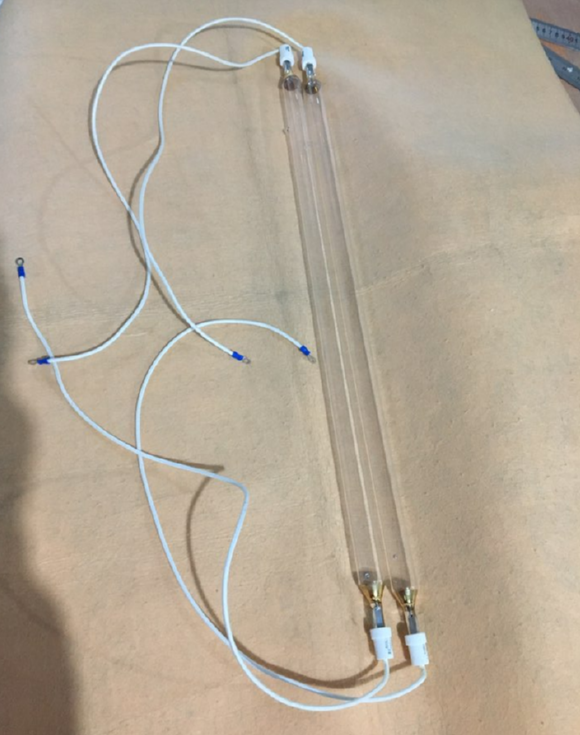
If you’ve ever wondered how ink stays put on a t-shirt or how coatings stick to fabric without smudging, it’s usually thanks to UV curing bulbs. They’re kind of the unsung heroes of the factory floor. Most of us use standard mercury lamps to get those inks and adhesives to set instantly. Basically, the bulb blasts the liquid resin with short-wave UV light, and boom—it bonds and hardens right there on the line. Getting the power right When we’re picking out these lamps, it usually comes down to two things: wattage and length. It’s all about the speed of your conveyor. If you want to crank up the production speed, you need more wattage to keep the light intense. But here’s the trick: you have to make sure the lamp actually “talks” to the ink. If the wavelength doesn’t match the photoinitiator in your ink, you’re going to end up with a tacky, sticky mess that just won’t dry. Dealing with the heat These bulbs are made of high-purity quartz because regular glass would just block the UV light. But there’s a catch. All that mercury vapor creates a ton of infrared heat. Like, a lot. You can’t just let them run naked. You need a cooling system—either blowing air over them or using water-cooled jackets. If you skip this, the quartz will warp or the bulb will just burn out way faster than it should. It’s an expensive mistake. Using them on the floor You’ll see these things everywhere—screen printing dryers, digital inkjet stations, fabric coating lines. They’re great because they usually fit right into older systems without a fuss. Plus, they cure deep into the fabric, which is a huge plus. But keep in mind, they aren’t “instant-on.” You can’t just flip a switch and start printing. They need a bit of time to warm up. If you forget to account for that ramp-up time, your first few batches of fabric might come out uneven. Just give them a few minutes to get going, and you’re set.